Fault Hunting Walkthrough
★ 6 SHiFT Codes as of September 2025
☆ Black Market Location
★ Elemental Weakness Chart
☆ Legendary Weapons
★ Builds: Vex | Amon | Rafa | Harlowe
☆ How to Respec Skill Tree
This is a walkthrough for the Fault Hunting side mission in Borderlands 4. Read on to follow the objectives and clear the mission.
List of Contents
How to Unlock Fault Hunting
There are two ways to start the Fault Hunting side mission, though both ways are still fixed to the Ruined Sumplands area and follow the same progression.
Both ways require you to have initiated the Wrath of the Ripper Queen main questline.
Talk to Leopold at the Society for Amateur Seismology Enthusiasts

You may start Fault Hunting by directly talking to Leopold at the Society for Amateur Seismology Enthusiasts on the western side of the Ruined Sumplands.
Accept Mission at Carcadia
The second way of starting Fault Hunting is after restoring Carcadia in the first part of the Unpaid Tab main mission.
Talk to Leopold at an intercom to accept the mission. You will have to talk directly to Leopold anyway at the Society for Amateur Seismology Enthusiasts.
Fault Hunting Walkthrough
Find the Source of the Tremor
| # | Walkthrough |
|---|---|
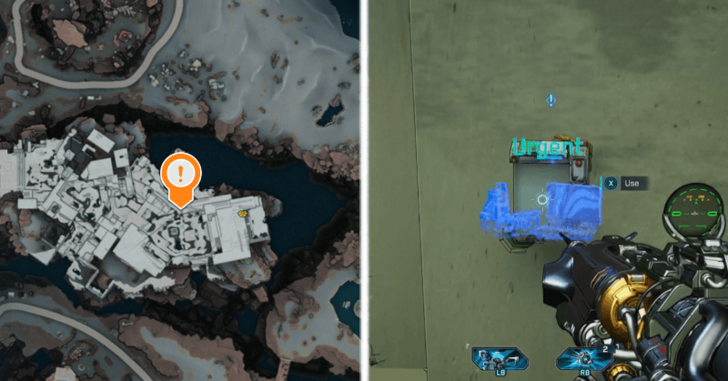
| 1 | Talk to Leopold at the Society for Amateur Seismology Enthusiasts. |
| 2 | 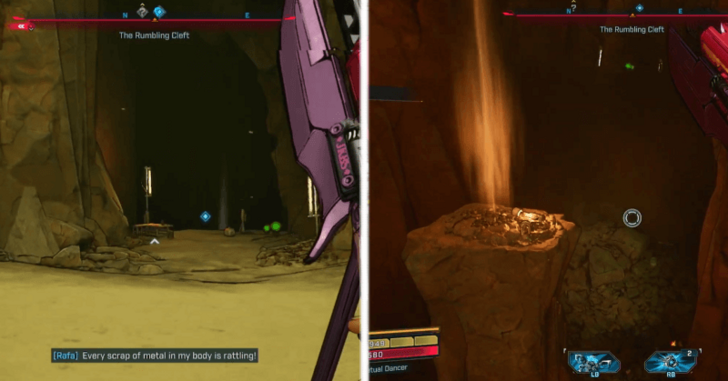 Travel northeast to reach the tremor site. Inside the cave, glide toward the geyser to get a boost and land on the other side. |
| 3 | 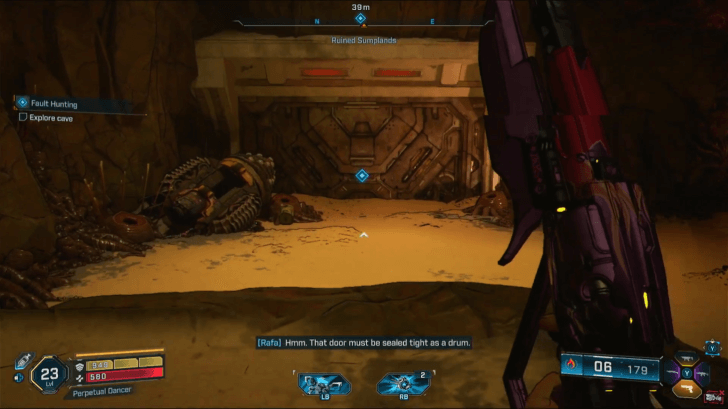 Keep going until you reach a locked door. Kill the creeps. Optionally, you may search the area by picking up the blue item near the door and examining the door itself. |
| 4 | 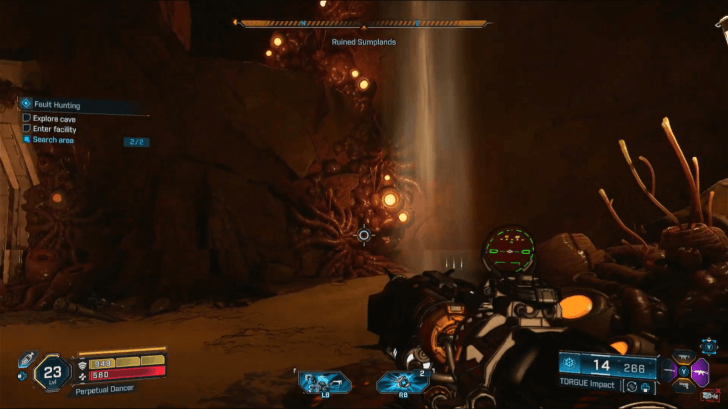 With the door still locked, look around for a geyser and jump toward it to land on an upper portion of the cave. Crouch past a tight passage and drop down into the next area. |
Explore the Facility
| # | Walkthrough |
|---|---|
| 1 | 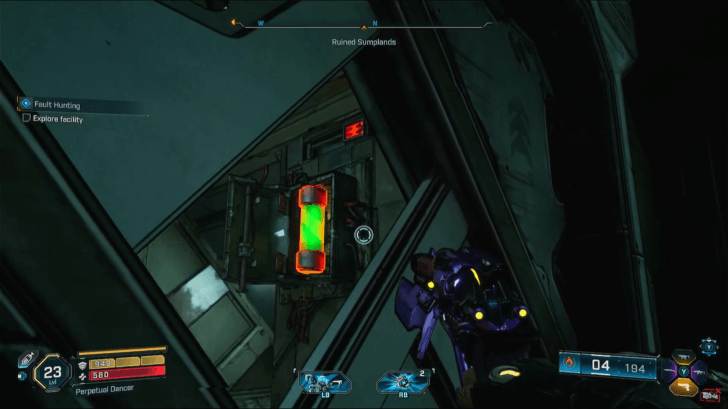 Ahead, you will be blocked by a door that keeps opening and closing. Through the gap in the door, shoot the green fuse. Move along and fight creeps before dropping down another hole. |
| 2 | 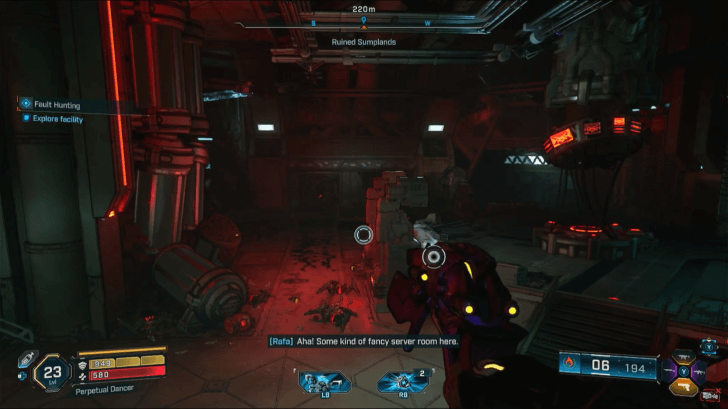 At the server room, find the server console. You may optionally search the room by examining the mummified creeps on the floor. |
| 3 | Find the power source slightly to the right of the console. |
| 4 |
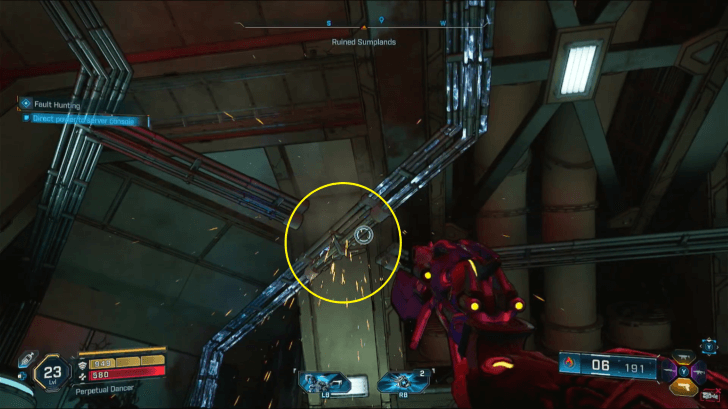 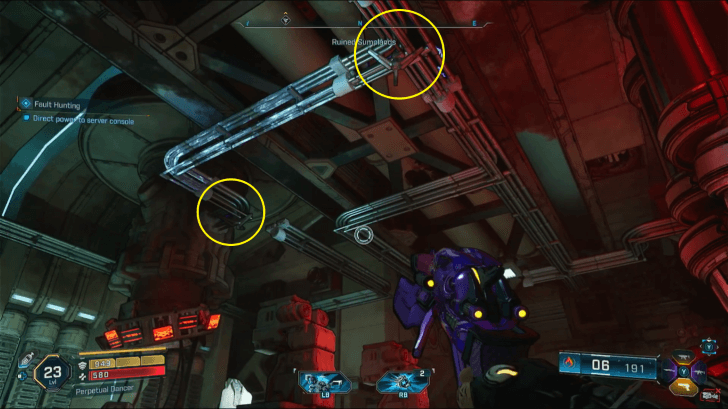 Direct power to the server console by using the grappling hook to turn the wires on the ceiling. Then, hack the server console. |
| 5 | While ECHO-4 is hacking the console, defend it by killing the creeps advancing toward it. |
Confront Genone
| # | Walkthrough |
|---|---|
| 1 | Leave the server room by going through the door to the right of the power source. Following the path will lead you back to the entrance of the cave. |
| 2 | 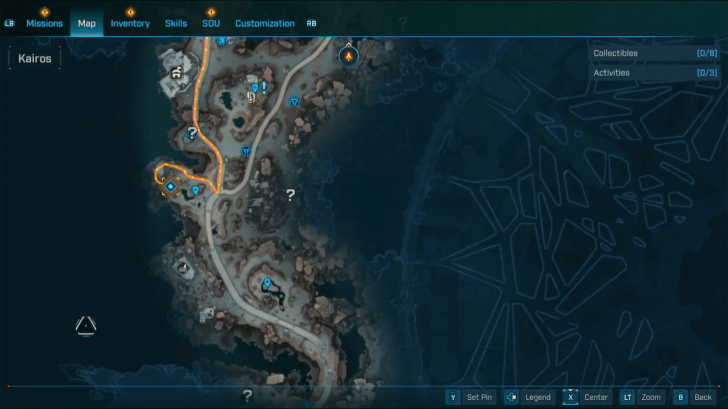 Go to Lopside, south of Carcadia Burn. You may immediately go there if the Makeshift Chalet Safehouse has already been captured. |
| 3 | 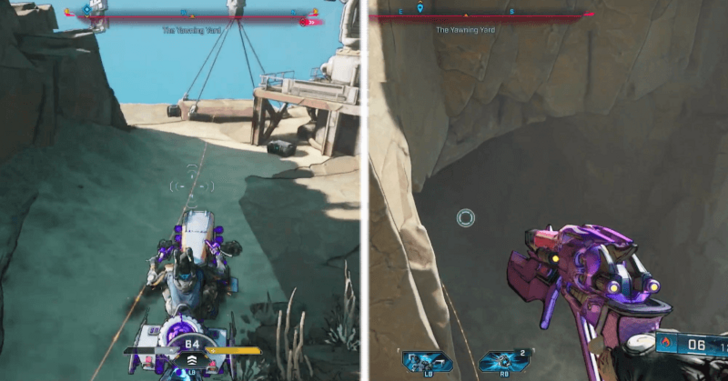 Arriving at The Yawning Yard, go to the edge of a cliff and glide down to find a door, which will open for you. |
| 4 | 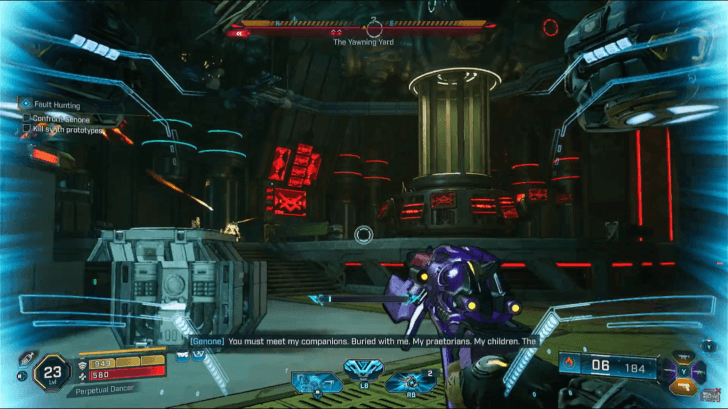 Kill creeps on the way to Genone. Eventually, you will find yourself in a room with synth prototypes. After killing them all, activate the console by a door. |
| 5 | 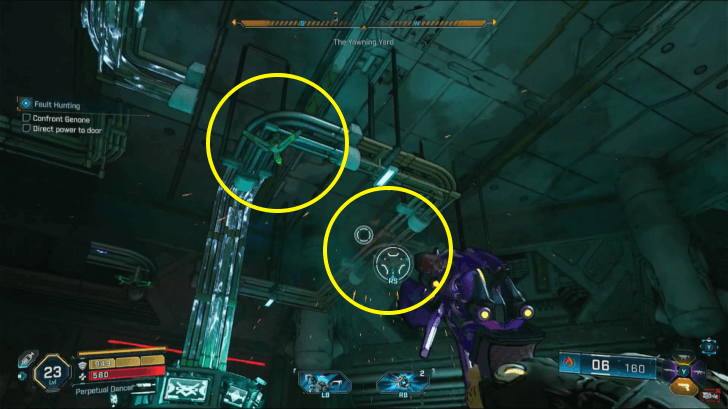 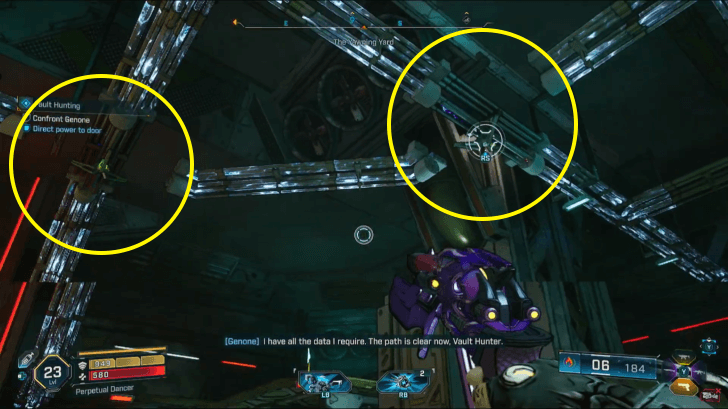 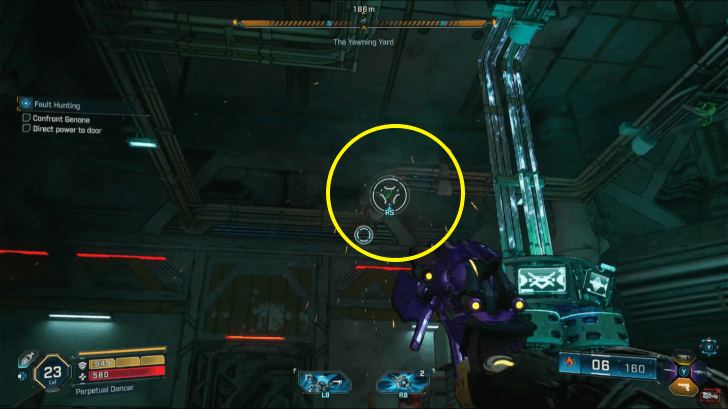 Like in the server room, direct power to the door to unlock it. |
| 6 | 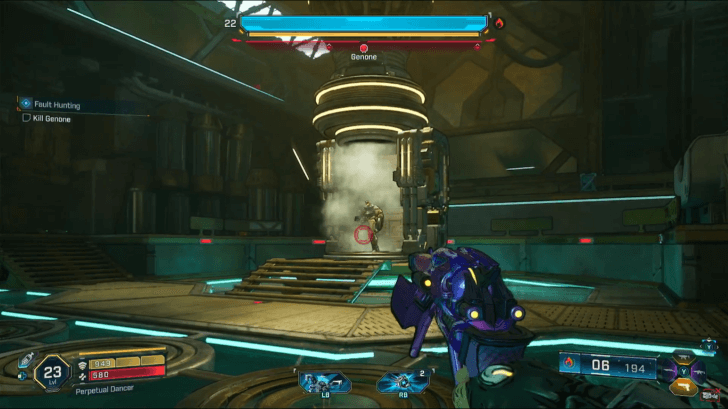 After passing through a series of rooms, confront the boss Genone. |
| 7 | 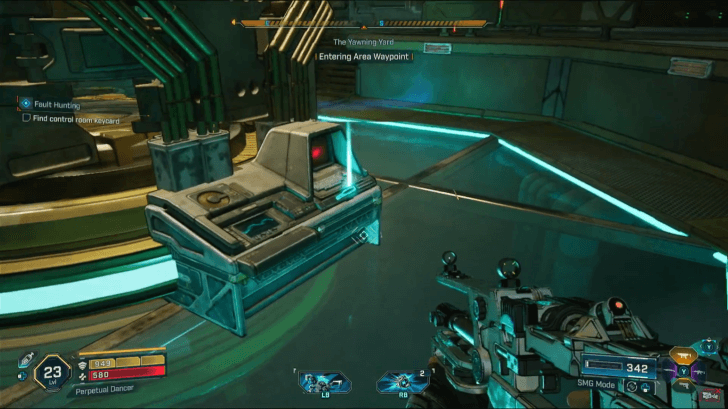 Find the control room keycard on a terminal at the center of the arena. Use the keycard to gain access to the control room. Inside, turn the switch to delete Zadra's research and end the mission. |
Fault Hunting Rewards
| Side Mission Rewards | |
|---|---|
| Base Reward |
・Cash ・XP ・Eridium |
| Equipment Reward | ・Assault Rifle (Green to Purple Rarity) |
| Cosmetic Reward | ・Weapon Skin (Eternal Defender) |
Borderlands 4 Related Guides

List of Side Missions
Comment
Author

Fault Hunting Walkthrough
Rankings
- We could not find the message board you were looking for.
Gaming News


Popular Games

Genshin Impact Walkthrough & Guides Wiki
Hollow Knight: Silksong Walkthrough & Guides Wiki
Umamusume: Pretty Derby Walkthrough & Guides Wiki
Borderlands 4 Walkthrough & Guides Wiki
Wuthering Waves Walkthrough & Guides Wiki
Honkai: Star Rail Walkthrough & Guides Wiki
Pokemon TCG Pocket (PTCGP) Strategies & Guides Wiki
Pokemon Scarlet and Violet (SV) Walkthrough & Guides Wiki
Zenless Zone Zero Walkthrough & Guides Wiki
Clair Obscur: Expedition 33 Walkthrough & Guides Wiki


Recommended Games
Once Human Walkthrough & Guides Wiki
Fire Emblem Heroes (FEH) Walkthrough & Guides Wiki
Yu-Gi-Oh! Master Duel Walkthrough & Guides Wiki
Persona 3 Reload Walkthrough & Guides Wiki
Black Myth: Wukong Walkthrough & Guides Wiki
The Legend of Zelda: Tears of the Kingdom Walkthrough & Guides Wiki
Super Smash Bros. Ultimate Walkthrough & Guides Wiki
Monster Hunter World Walkthrough & Guides Wiki
Diablo 4: Vessel of Hatred Walkthrough & Guides Wiki
Elden Ring Shadow of the Erdtree Walkthrough & Guides Wiki


All rights reserved
©2025 Gearbox Software. Published by 2K Games. Developed by Gearbox. Gearbox, Borderlands, and related logos are all trademarks of Gearbox Software, LLC. 2K and the 2K logo are trademarks of Take-Two Interactive Software, Inc. All other marks and trademarks are the property of their respective owners. All rights reserved.
The copyrights of videos of games used in our content and other intellectual property rights belong to the provider of the game.
The contents we provide on this site were created personally by members of the Game8 editorial department.
We refuse the right to reuse or repost content taken without our permission such as data or images to other sites.